Many people might think that repainting a horse trailer is a simple process. However, more often than not, when they realize how much work is involved in the whole process, they change their minds about undertaking this project. They also realize that having the right tools makes all the difference. I used to customize trucks for a living and have painted my share of trailers with the perfect paint job. You will have to remove everything from your trailer. From then on, you’ll need to plan each step carefully and make sure you have the right tools ready so you can complete your job and hit the road again.
Many people look at horse trailers and quickly associate them with a negative image of something that is old, dirty, and rusted. They would be surprised to know that a rather large amount of people are spending time and money restoring their horse trailers. This guide is going to explore the benefits that come from repainting your trailer, where you could go to have it painted, and the costs that are associated with a professional paint job.
You want the trailer to be red, your spouse wants it green, and your kids want it blue. Well, maybe that’s a bit of an exaggeration but you get my point. You’re a family without an agreement and you’re about to embark on painting a horse trailer for your kids’ horse shows. It’s time for you to stop arguing and start painting!

There are a few different ways to go about repainting your horse trailer. The first step is preparing the surface you will be painting. You can sand down any existing paint that has chipped or started peeling, but be careful not to sand too much or too close to any metal parts. You’ll also want to make sure there are no rust spots or other discolorations on the surface of your trailer.
Once you’ve prepared the surface, it’s time to apply primer. Primer helps seal in the existing paint and prevents new paint from bleeding through. It also helps increase adhesion between layers of paint and makes it easier for them to stick together while they dry over time. Finally, primers create a barrier between two different types of surfaces so that they don’t come apart when exposed to various weather conditions (such as rain).
Your next step is applying two coats of topcoat over top of the primer layer—this gives it a nice finished look and makes sure all surfaces are completely covered up with something solid so nothing else can come through underneath later on down the road (which could cause cracks). The second coat also adds extra protection against UV rays which could degrade
The first step to repainting a horse trailer is to remove all the old paint. This can be done with a putty knife and sandpaper. The surface must be completely clean before applying new paint, so sanding is necessary to remove any rust or chipping of the previous coat.
After cleaning and sanding, it is important to prime the surface before applying new paint. Primer helps create a smooth surface for the new paint, which makes it easier to apply and provides better coverage.
The final step involves applying several coats of high-quality marine grade acrylic enamel paint. Make sure that each coat dries completely before applying another one; otherwise, you will end up with unsightly patches where two layers overlapped each other and didn’t dry properly.
Repainting A Horse Trailer
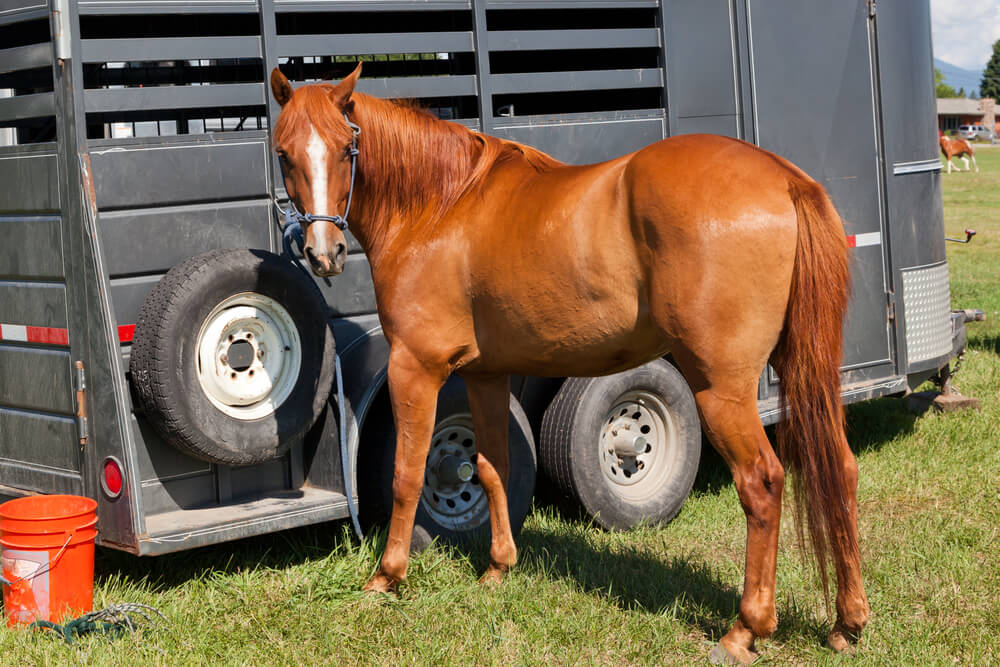
As a horse owner, you know the importance of having your own horse trailer. It makes it easy to take your horse to events such as trail rides, rodeos, shows and more. If you need to take your horse to a vet or equine hospital, having your own trailer makes the task that much easier. In the event of an emergency evacuation, a horse trailer can be a lifesaver.
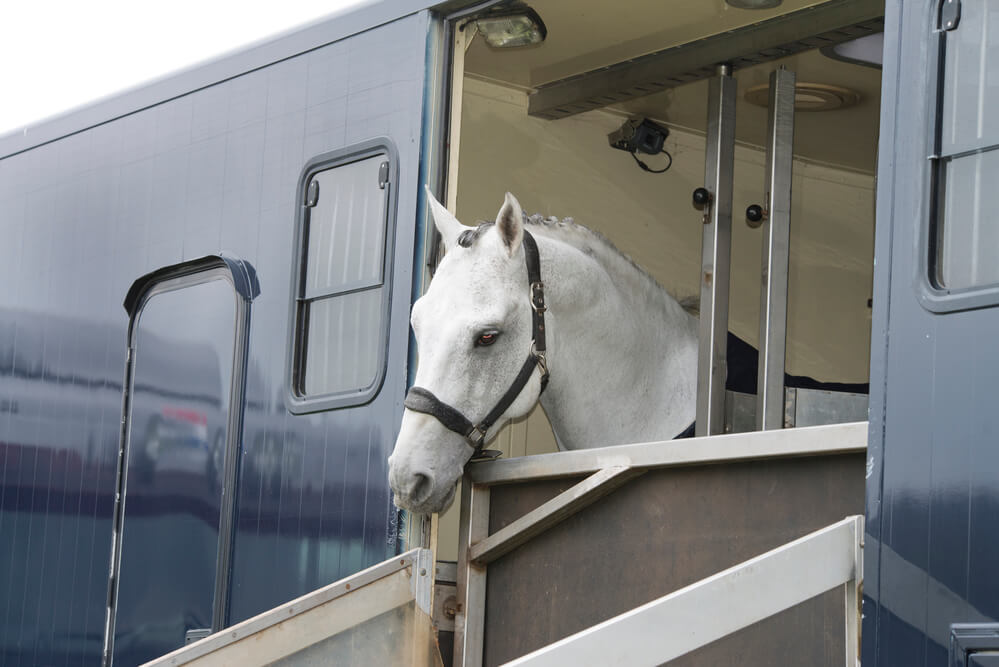
Of course if you have a trailer of your own, you must also take care of it. It’s important to keep it safe (have you installed your horse trailer cameras?), clean and decent looking. Having a ratty, broken down horse trailer on your property is sure to displease your neighbors, and hauling it down the road is sure to attract the attention of the local police.
Keeping your horse trailer in good condition just makes sense!
In this article, we provide tips to help you paint your horse trailer. Read on to learn more on how to paint a horse trailer yourself.
What Do You Need To Paint A Horse Trailer?
The amount and types of materials you’ll need will vary depending upon the size and condition of the horse trailer, but here’s a basic list of the items you may wish to acquire to paint your horse trailer.
- Oil-based liquid paint such as Rustoleum
- Spray paint such as Rustoleum
- Sander and sanding disk
- High-quality gray primer
- High-quality paintbrush
- High quality paint roller
- Masking/painters’ tape
- Metal bonding primer
- Plastic drop cloths
- Painters’ masks
- Paint thinner
- Wire brush
- Large tarp
- Paint gun
- Grinder
- Caulk
Depending upon the job you have at hand, you may not need all of these items. On the other hand, you may need additional items depending upon the challenges you face and your desired results.
If you’re restoring a secondhand treasure that’s in very poor condition, you will naturally need more and different materials than if you are simply spiffing up your own well-cared-for horse trailer.
For routine maintenance, you may just need to buff and wax the existing paint. If you need to do a complete renovation, you may be faced with a lot of grinding, sanding, caulking, priming and several of coats of paint.
If you’re doing a lot of painting, be sure to wear a painter’s mask to protect yourself against fumes. Do your painting outdoors or in a very well ventilated area such as an open barn.
Follow These Steps To Paint Your Horse Trailer
1. Put a large tarp or plastic drop cloths in place and roll the trailer onto it. This will completely protect the ground or flooring beneath the trailer. You can then remove the trailer tires if you want to keep them clean.
2. Sand the entire trailer for a uniform, smooth surface. Be sure to get rid of all old, chipping paint and bits of rust.
3. Use masking tape or painters’ tape to cover surfaces you do not wish to paint (e.g. window frames). If using a paint sprayer, cover windows, tires and other large areas with paper or plastic.
4. Use your roller to cover large surfaces with primer and use your brush to fill in detail in corners and tight spots.
5. If using a paint sprayer, thin your oil-based paint with an appropriate thinner and spray all surfaces steadily and evenly. If using a roller and paintbrush to apply paint, use your roller to cover large surfaces, allow the paint to dry thoroughly and then fill in detail with your small brush.
6. Allow all paint to dry for twenty-four hours and then apply a second coat. If a third coat is needed, wait another twenty-four hours and repeat this final process.